Sonic Arts
- Research
- Facilities
- People
- Publication
- Resources
- Contact
This is a condensed guide to sending audio to an audio interface from a Linux machine over AVB. For our setup, we used a MOTU 24Ao. These instructions should work with any AVB-enabled audio interface, but we've only tested them with the MOTU, so they may not work with other interfaces.
For more information, see the full guide.
This guide was authored by April Hsu and Sureel Shah.
This guide assumes that you are using the same setup as us: a Linux machine running Ubuntu 20.04 with 5.15.0-67-generic as the kernel version, an Intel i210 Ethernet Adapter installed in said machine, a MOTU 24Ao, and a Netgear network switch (the computer, MOTU, and Netgear are all on the same Ethernet network). That said, these steps can probably be generalized to other setups, but the i210 card is absolutely necessary.
As an additional note, as you follow the below steps, there may be packages you’ll need to download in addition to whatever we tell you to install.
ifconfig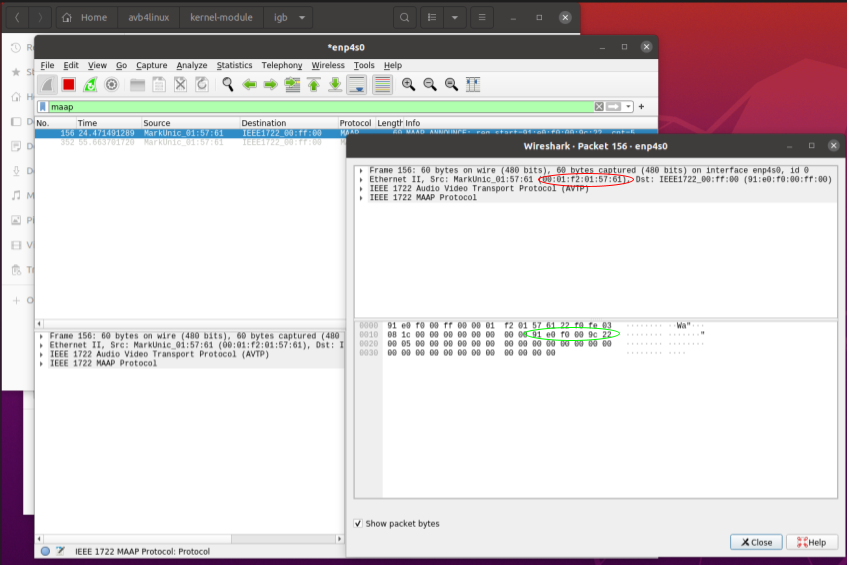
git clone https://github.com/Drumfix/avb4linux.gitgit submodules syncgit submodules initgit submodules update 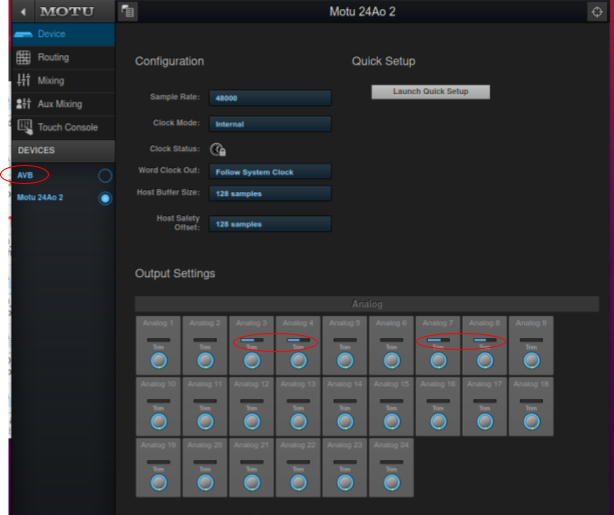
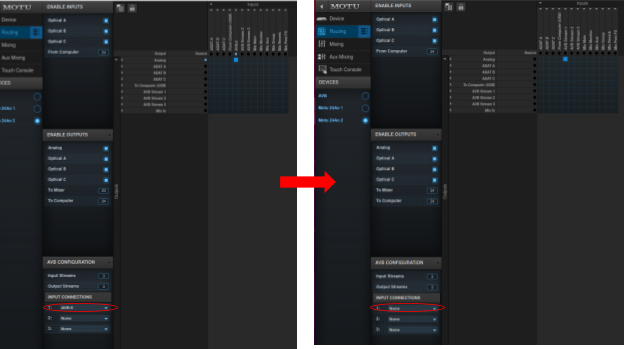
As a final note, AVB4Linux works with additional MOTUs added to the network. To stream audio to a specific MOTU, just change AVB_DEVICE_SOURCE_MAC and AVB_DEVICE_TALKER_MAC_BASE MAC in avb-config.h (you can find them using the same process as before). However, when we had two MOTUs on the same network and tried streaming audio to one of them, the other would also receive the audio; if you experience the same, then you don’t really need to bother with changing the MAC addresses in avb-config.h. Additionally, if you only want one MOTU to receive audio, simply set the input connections of the MOTU(s) you don’t want receiving any audio to “None” in the MOTU web interface: